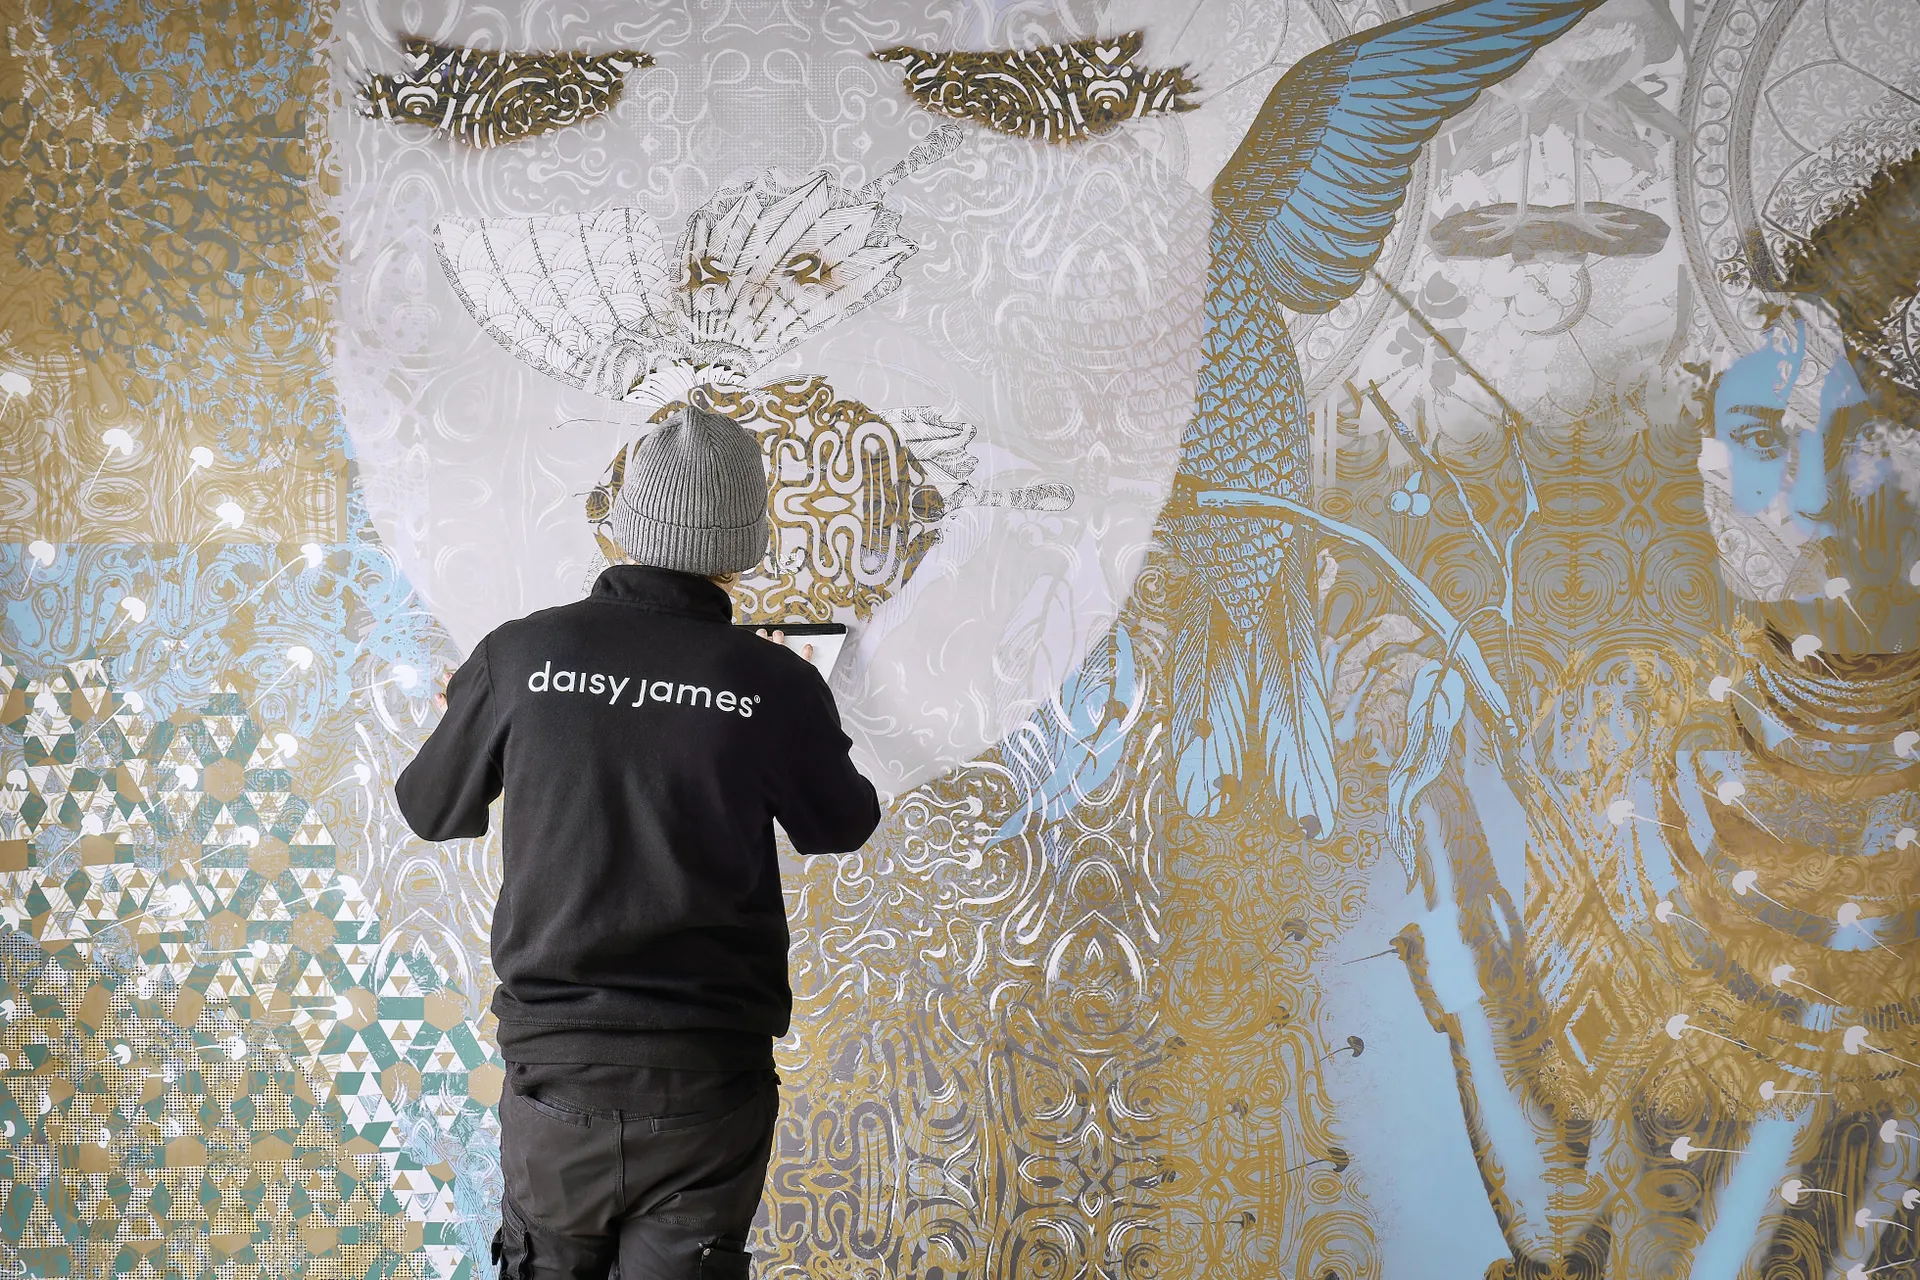
Application: Professional installation service
Wallcovering Installation Guide
Why choose seamless wallcovering?
For a clean, uninterrupted result without visible seams, our seamless wallcovering is the ideal choice. It gives your wall the appearance of a painted or marbled surface perfect for luxury interiors where every detail matters.
Two types of wallcovering to choose from
At daisy james, we offer our exclusive designs in two variations: seamless wallcovering and traditional wallpaper on roll. Both are produced at the highest quality standards and are suitable for a wide range of applications, from living rooms to hotels and commercial interiors
Want to apply it yourself?
Here’s how it works Transforming your interior with the luxury wallcoverings from daisy james is easier than you might think. Whether you’re a professional installer, an experienced DIYer, or applying wallpaper for the first time with the right tools, techniques, and our clear installation guide, you’ll achieve a high-end, stylish finish with ease.
Need support?
We’ll guide you every step of the way To ensure a flawless finish, we provide clear installation manuals and a comprehensive video tutorial. This way, you can follow each step and install your daisy james wallcovering with confidence transforming your space into an exclusive design interior.
How to Apply Seamless Wallcovering
Watch the video and learn about the steps
Seamless Wallcovering – Installation by daisy james
Seamless wallcovering may seem complex, but with the right support, a flawless result is closer than you think.
At daisy james, we don’t just offer exclusive wallcoverings we also provide a complete professional installation service, specially developed for projects where visual impact, precision, and customization are essential.
Our seamless wallcovering is designed and produced on refined textile, fully customized to your interior.
We offer personalized guidance throughout the process from technical measurements and wall layouts to installation instructions. Whether it’s a hotel room, office, high-end residence or hospitality venue, we ensure every project fits the space and the vision perfectly.
Thanks to our specially formulated DJ Glue CO 1215 and detailed installation plan, the result is always smooth, clean, and free from visible seams. Whether you’re working with an in-house installer or choosing from our trusted network of professionals, we ensure a stress-free process and a truly remarkable finish.
Step 1
Start by preparing the wall. Thoroughly clean it to remove any dirt, grease, or debris. Fill in any holes or cracks and sand down any bumps or rough patches. Starting with a smooth and clean surface is crucial to ensure the wallcover adheres properly and imperfections do not show through. If the walls are freshly plastered, apply a suitable primer before proceeding.
Step 2
Remove the wallcover from its packaging. Measure the wall and compare these measurements with those on the leaflet provided with the wallcover. If correct, there will be a few extra centimeters or inches in both the width and height to allow for any mistakes or adjustments.
Step 3
Once the wall is prepared and the measurements are double-checked, you can apply adhesive to the wall. We recommend our DJ GLUE CO 1215 for the best and most durable finish. If you choose to use another glue, please follow the manufacturer’s guidelines. Use a brush and paint roller to spread the adhesive evenly, covering the entire surface of the wall.
Step 4
Apply the wallcover, starting from either the left or right side, depending on obstacles such as doors, windows, or lights. Begin on the easier side, pressing the wallcover into place as you go. Use a smoothing tool or brush to eliminate any air bubbles or wrinkles in the direction you are working. Work carefully and methodically, ensuring the wallcover is perfectly horizontal.
Step 5
If you encounter any obstacles, such as light switches, outlets, doors, or windows, carefully cut around them with a clean, sharp knife. Take your time and work carefully to ensure a neat finish.
Step 6
Once you’ve applied all of the wallcover, use a sharp knife to trim any excess wallpaper from the edges. Use a smoothing tool or brush to ensure the edges are firmly in place.
Step 7
Finally, step back and admire your hard work. With a seamless and professional-looking finish, your newly decorated wall will be a source of pride and satisfaction. Visit the FAQ for instructions regarding cleaning and maintenance to keep your wallcover looking great for years to come.
How to Install Wallpaper on Roll : The 6 daisy james Steps
Learn how to install daisy james wallpaper on roll yourself?
Applying daisy james wallpaper on roll yourself can be a challenging but above all, rewarding DIY project. With the right preparation, tools, and technique, you can achieve a clean and professional finish. Whether you’re an experienced DIYer or applying wallpaper for the very first time, with attention to detail and a steady hand, success is within reach.
In the step-by-step guide below, we explain exactly how to install daisy james wallpaper on roll in 6 clear steps. Follow them carefully for a flawless result.

Step 1
The first step in installing wallpaper by yourself is to carefully measure and prepare the walls. This includes filling any holes or cracks, sanding the surface, and cleaning it thoroughly to ensure a smooth and even base for the wallpaper to adhere to.
Step 2
Next it will be best to prime the wall.
Step 3
The wallpaper will be produced with a small amount of overlap on the right, left and at the top and bottom of the wall. It’s important to measure carefully and use a straight edge or ruler to ensure that your cuts are precise and even.
Step 4
Once everything is set it’s time to apply the adhesive. This can be done with a brush and roller, and it’s important to apply the adhesive evenly to avoid any lumps or bumps in the wallpaper.
Step 5
Then, it’s time to hang the wallpaper. This requires patience and attention to detail, as each strip must be aligned correctly and smoothed out to avoid any wrinkles or bubbles.
Step 6
As you work your way across the wall, it’s important to trim the excess wallcover at the edges of the wall, using a sharp utility knife and a straight edge for a clean and precise finish. You can always ask our advice about the best kind of glue and the tools you need to use.
Professional Installation of Seamless Wallcovering
Is your project more complex than a DIY approach allows? Or would you simply prefer to be completely unburdened when it comes to installing your seamless wallcovering?
daisy james offers the option of having your wallcovering installed professionally quickly, flawlessly, and fully tailored to your space.
We collaborate with a trusted network of experienced installers and wallcovering specialists across multiple regions. When you request a quote for your project, you can indicate that you’d like to make use of our installation service. We’ll then inform you about the available professionals in your area and take care of a seamless schedule.
This service is always combined with our high-performance adhesive DJ GLUE CO 1215, specifically developed for clean, seamless application of daisy james wallcoverings. So you won’t have to worry about the right materials or techniques we take care of everything.
Choose convenience, confidence, and a perfect finish. Have your wallcovering professionally installed and enjoy the luxury of effortless design.
Installing daisy james Wallcovering with DJ GLUE CO 1215

Installing daisy james Wallcovering with DJ GLUE CO 1215
At daisy james, we understand that a flawless finish starts with the right materials. That’s why we developed our own professional-grade adhesive: DJ GLUE CO 1215.
This specially formulated glue provides exceptional bonding strength and ensures a seamless, durable, and impeccable installation of our wallcoverings.
DJ GLUE CO 1215 is easy to apply, low-odor, and designed for both professional installers and experienced DIYers. Thanks to its superior quality, it is perfectly suited for large commercial projects as well as smaller residential applications.
The glue is available in 5 kg and 10 kg containers, tailored to suit different project sizes. When requesting a quote, you can indicate whether you’d like to include DJ Glue as part of your installation package ensuring optimal adhesion and the best possible result.
FREQUENTLY ASKED QUESTIONS ABOUT DJ GLUE CO 1215
IS DJ GLUE CO 1215 SUITABLE FOR ALL DAISY JAMES WALLCOVERINGS?
Yes, this adhesive is specially developed for all our seamless wallcoverings and provides strong, long-lasting adhesion on a variety of surfaces.
CAN I APPLY DJ GLUE CO 1215 MYSELF?
Absolutely. The adhesive is user-friendly and suitable for both professional installers and experienced DIYers.
IN WHAT QUANTITIES IS DJ GLUE CO 1215 AVAILABLE?
Our adhesive is available in 5 kg and 10 kg containers, depending on the size of your project. You can select your preferred quantity during the quotation process.